I have been a Ubiquiti UniFi user for a number of years now, with my old faithful USG (UniFi Security Gateway) as the main router for my BT/EE broadband. This router has been end-of-life for a long time, and unable to support my latest fibre 1GB connection with the security features IDS/IPS turned on – that said it kept on going with no real issues. Since the beginning I have self hosted the Application controller, which has also been fine.
This blog covers the easy first migration to the UXG-Lite then a trickier second migration to the Cloud Gateway Ultra – hopefully it might help others.
Upgrade 1 : UXG-Lite
As the router was getting very long-in-the -tooth when the UXG-Lite was released as a replacement I decided to upgrade and get the security features and better performance. As the UXG-Lite doesn’t include the Application Controller migrating was a simple matter of taking a controller backup, removing the USG from the controller, plugging on the new UXG-Lite and adopting….. it really was that simple.
The only issue I encountered with the UXG-Lite was the connection from Alexa to my Meross smart plugs became unreliable (very unreliable). I still don’t know why – I assume it’s something to do with the additional security rules?
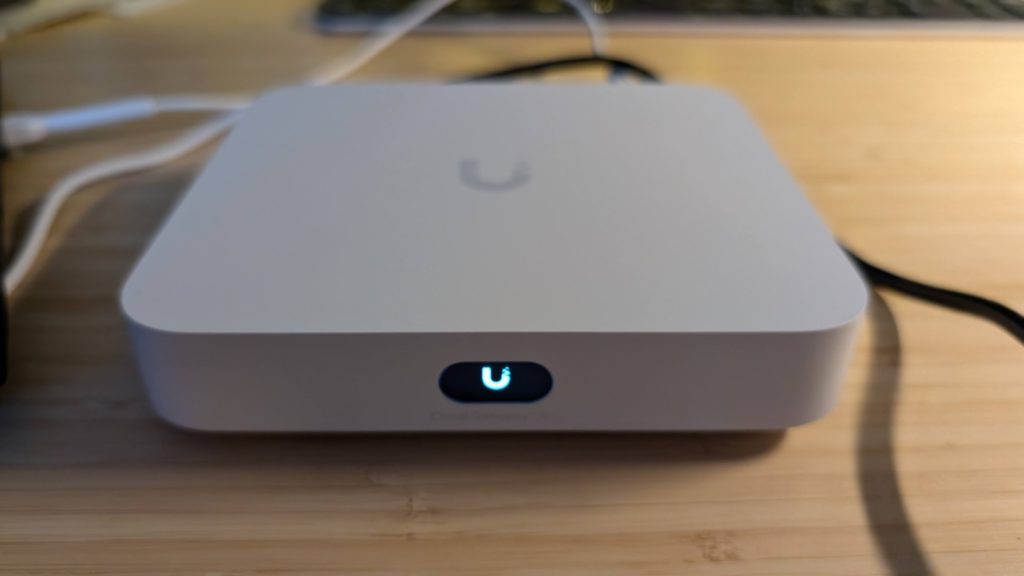
Upgrade 2 : Cloud Gateway Ultra
Shortly after the release of the UXG-Lite Ubiquiti released the Cloud Gateway Ultra (amongst others) – REALLY Ubiquiti – this was the unit that most USG owners were actually waiting for. It’s a more powerful unit with a 4 port switch, dual WANs, and it hosts the Application controller – no more self hosting.
After running the USG-Lite for about 3 months I decided to upgrade to the Cloud Gateway Ultra, no real reason, just because. The migration this time wasn’t quite so easy…..
I started by taking a configuration only backup of my controller. I then booted the new unit, and started going through the setup screens. At the appropriate point I selected to import a backup, which quickly failed as the version of my controller was newer than the version on the device – doh – not something I had thought of.
I tried to connect the new Ultra to my broadband viw PPoE but it wouldn’t connect for some reason, so upgrading from the internet seemed a challenge. I then released I could connect the Ultra to my existing USG using that as the broadband connection. To do this I had to configure the network port to use a secondary network, not 192.168.1.0/24, to distinguish it from the default address range of the new Ultra. To connect to the new Application controller on the Ultra I had to connect my laptop to the Ultra switch directly rather than through another switch.
Once this was done I was able to connect it to the internet and update the firmware and application controller to the latest version (I had to use an Early release to match my self hosted controller).
Once the upgrade was complete, I was able import my saved controller backup into the new Ultra and shut it down.
With the new Ultra ready I removed the USG from the old controller and wired the new Ultra into place and turned it on. Once booked I was able to connect to the new controller and my network was displayed…… as offline. I waited and refreshed the display but they stubbornly remained offline. I had visions of having to readopt each device separately 🙁 After a quick search I came across mentions of having to shutdown the old controller…. which I did….. and waited. It took a while (minutes) but one-by-one they started to get adopted – taking about 5 minutes to recognise all of the devices.
All done and working – even the Alexa / Meross connection seems to be more reliable, but only time will tell.
Conclusion
Here are my advised steps to migrate from a Gateway without an Controller to the Cloud Gateway Ultra.
- Backup your existing controller
- Connect the Ultra to your network using its WAN port and a TCPIP connection (even if your old gateway is PPoE)
- Make sure the address ranges aren’t going to conflict
- Connect your laptop to the Ultra switch and connect to 192.168.1.1
- Upgrade the firmware and application controller on the Ultra – making sure that it is compatible with your old controller.
- Shutdown the Ultra and replace your old controller with the new Ultra
- Shutdown your old controller
- Boot the new Ultra
- Connect to the new Ultra on 192.168.1.1 and check that your other Ubiquiti devices are adopted.
Happy surfing