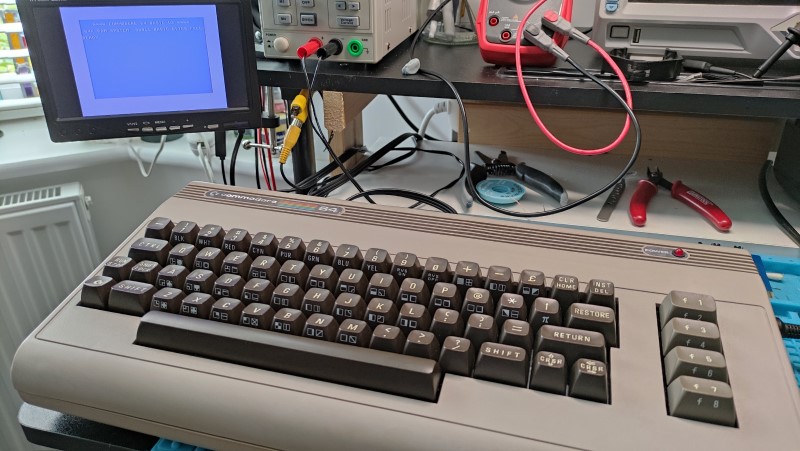
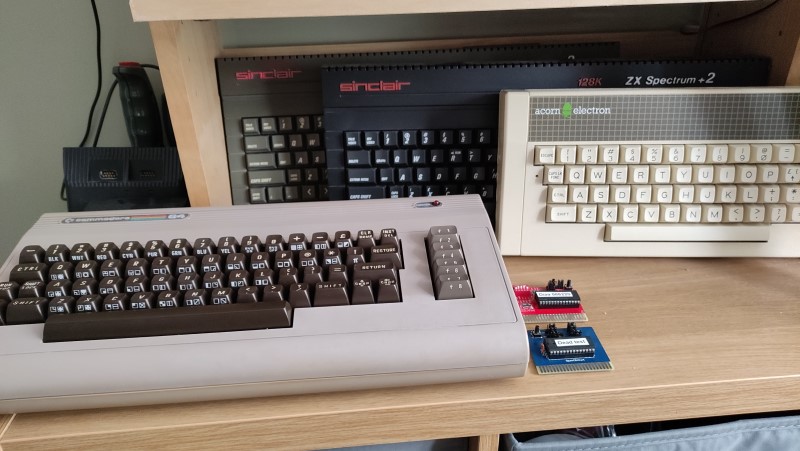
Having been a Spectrum owner back in the day I never experienced the C64, but have watched numerous being fixed on YouTube. I decided it was finally time own one so headed to eBay. After bidding on a few I was finally successful and became a C64 owner.
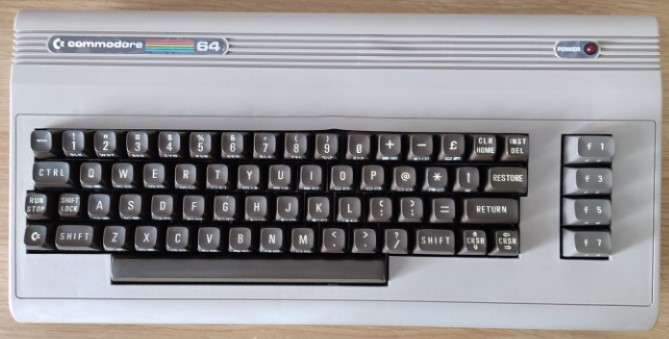
On first inspection, it was in ok state on the outside, but the inside was extremely dirty. What was even more concerning was the amount of rust on the top of the chip legs. I also found that removing them was extremely ‘crunchy’ – I’ll replace some of the sockets when it’s working.
Fixing the 12v rail
Armed with my new diagnostics cartridges I started by pulling the chips not needed to run the Dead test cartridge (U1->U5 and the SID); then powered up to check the voltages. My first concern was the 12v rail, it was reading +15v; this was quickly fixed by replacing the VR1 voltage regulator. I also added a heatsink to the VIC-II as it was getting very hot.
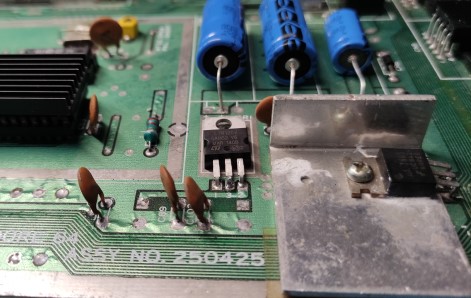
Checking the dead test results showed a memory issue which turned out to be U21, replacing it fixed the problem. While investigating the memory issue I also found that U25 (74LS257) had a broken leg… Fixing these allowed dead test to finish without any errors.
Two main problems were now obvious:
- It seemed to take ages to start and sometimes stays on a black screen. The eBay seller had mentioned that he thought the power switch was broken.
- An extreme flicker on the screen. I decided to focus on this first.
Investigating the flickering video
The flickering is shown in the video below and gets worse as the test progresses.
After lots of Googling, I had 2 possible culprits in mind, the colour RAM and the VIC-II.
The colour RAM is a single 2114 static memory chip, the same as used in the ZX81, so I removed and tested this using my 2114 memory tester. Annoyingly the chip was reported as fine but just for good measure, I tried a replacement chip in the new socket – same result.
Next I tried replacing the VIC-II….. same flickering.
Just for good measure, I swapped the PLA… the same flickering. This was going to require some more detailed investigation than just chip swapping.
Looking at the schematic and lots more Googling later… this was my thought process:
- C64s with similar issues seemed to be the colour RAM or the VIC-II; mainly the colour RAM.
- The RAM was reporting as fine and the address and data lines are shared with the main RAM/ROMs, so it probably wasn’t any of these shared components. I was looking for something specific to the colour RAM.
- The Chip Select (CS) line is unique to the colour RAM. This comes from the PLA through U15 (74LS139) and U27 (74LS08) to the colour RAM.
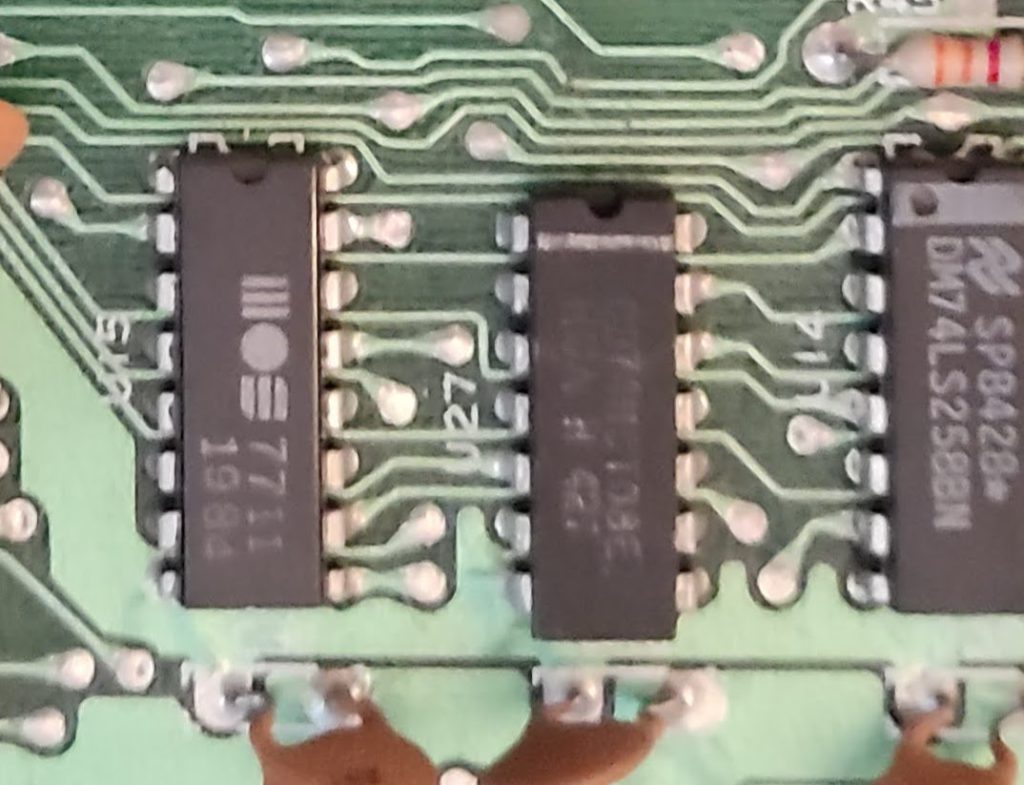
U15 and U27
Looking at the chips neither looked like they had been replaced. Certainly, U15 has a believable date code (19th week of 1984).
Both ICs had reasons for me to suspect them from the visual inspection. U15 is manufactured by MOS and all of the YouTubers that I watch say MOS chips are very unreliable and the label on U27 looks very dubious (half rubbed off and it claims to be an HCT rather than an LS chip).
Do we have a fake chip ?
I started with U15 and tested it in my TL866 II Plus using the logic test feature; it was reported as OK. I also tried a new chip just in case – no change.
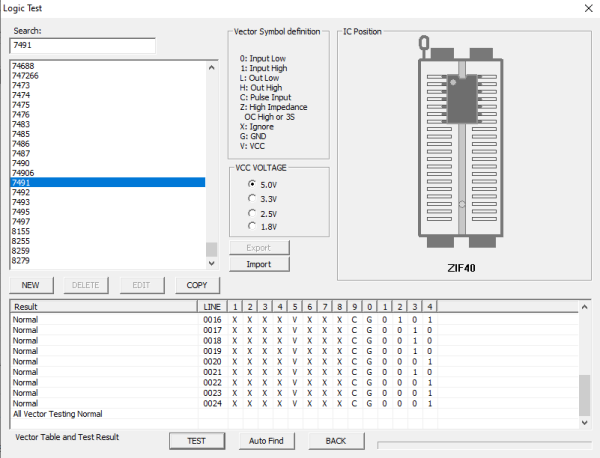
So onto U27, I desoldered and loaded it into the tester. Being lazy I pushed the autodetect button….. interesting….. the IC was detected as a 7491 or 7495 not a 7408 as expected. I wasn’t familiar with either of these chips and looking them up told me these are shift registers, not Quad input AND gates. I manually selected 7408 and clicked test….fail.
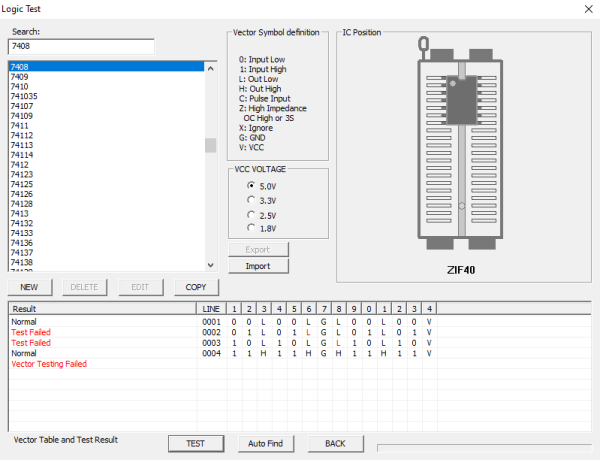
I then tried testing it as a 7491 (shift register)….PASS. Hmmm looks like we have something strange here.
Looking at the chip I can only assume that it is a fake. The top of the chip looked a little rough – evidence of sanding and reprinting? I tested the printing with acetone but it wasn’t affected. The soldering also looked original? But I’m no expert.
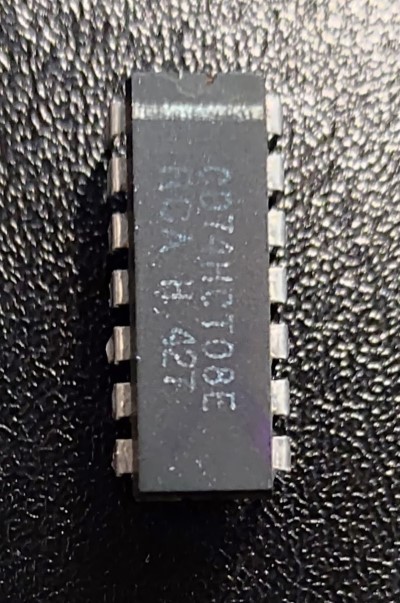
So we now had a suspect with evidence mounting (it certainly wouldn’t work with a shift register instead of AND gates). I replaced it with a new 74LS08 and turned the power on…….no flicker.
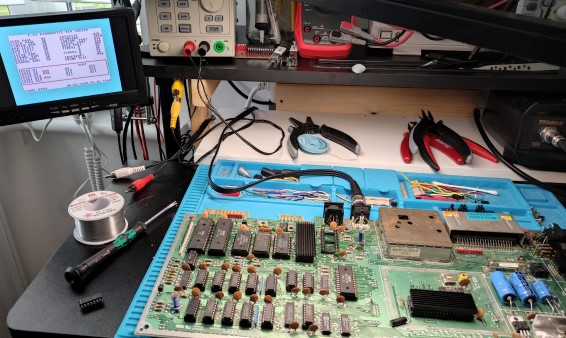
To see if there were any other problems I left the diagnostics running for an hour and 100 iterations later no unexpected errors. I also used contact cleaner on the power switch just in case.
Final cleaning
The final stage was the cleaning; the case was in good condition so just needed some soap and water. The main effort was dismantling the keyboard, but even that wasn’t that dirty compared to others I have dismantled.


After cleaning was complete and a final test on the bench the C64 took it’s place in my collection.
