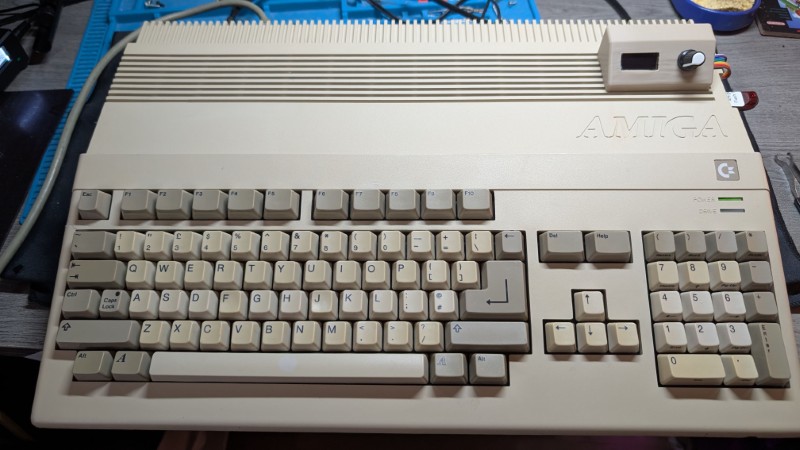
Over the last few weeks have been working towards the refurbishing of my 2 Commodore Amigas, the first of these is now complete and here is what I did and how it went.
Before trying anything I always make sure the power supply isn’t going to cause any issues. Some of the caps in this one looked suspicious so I decided to swap it for a modern power supply – whilst keeping the housing. I could then use this on both of my Amigas, and any future ones without worries.
The next job was a thorough clean…..40 year old keyboards….. need I say more ? This one was particularly grim.


I tested the keyboard before disassembling and found that a number of the keys didn’t work due to badly perished tracks. I tried a circuit board pen but it was beyond repair so I purchased a new one from eBay – not cheap but worth it. Other than that it was just a matter of carefully removing each key, cleaning it and then the base board.
During testing I found that most games need 1024MB of RAM, but mine only have 512MB, so I decided to upgrade the onboard memory as there were sockets free. This let me use my only trap door expansion card for the other machine which doesn’t have any free sockets for an upgrade.
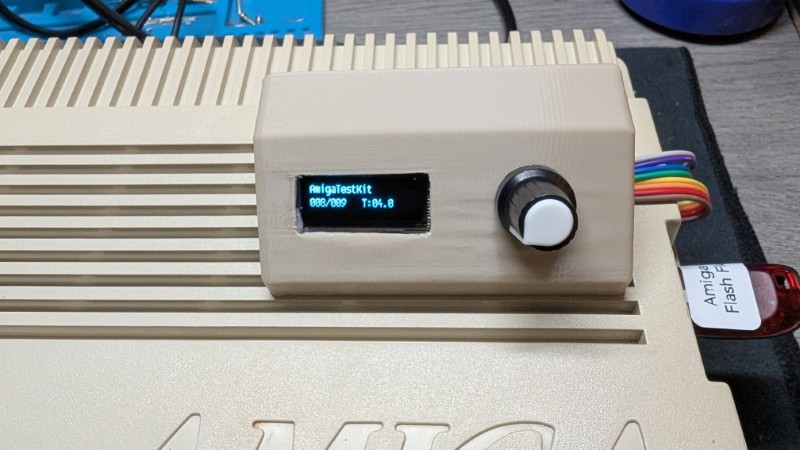
The final step was to swap the original floppy drive for a flash floppy drive, see my previous post on how to create these.


I found a 3D printed carriage to fit a Gotek into Amiga and mounted my freshly created FlashFloppy drive into the machine – easy peasy. I decided to use the optional screen and rotary encoder to allow easier selection of disc images – again all mounted in a 3D lovely printed housing.
With it all back together I have a fully upgraded and good looking Commodore Amiga – nice.