I started my computing with a ZX Spectrum 48k. I never really noticed the ZX80/81 and I don’t remember any of my friends having one. But they both played a significant part in kick-starting home computing. For this reason, they were next on my hit-list for acquiring, off to eBay. As with the ZX Spectrums, the prices vary significantly, especially if they are known to be working. What I hadn’t realised was the price ZX80s are going for. I decided to set my sights on getting a ZX81 first.
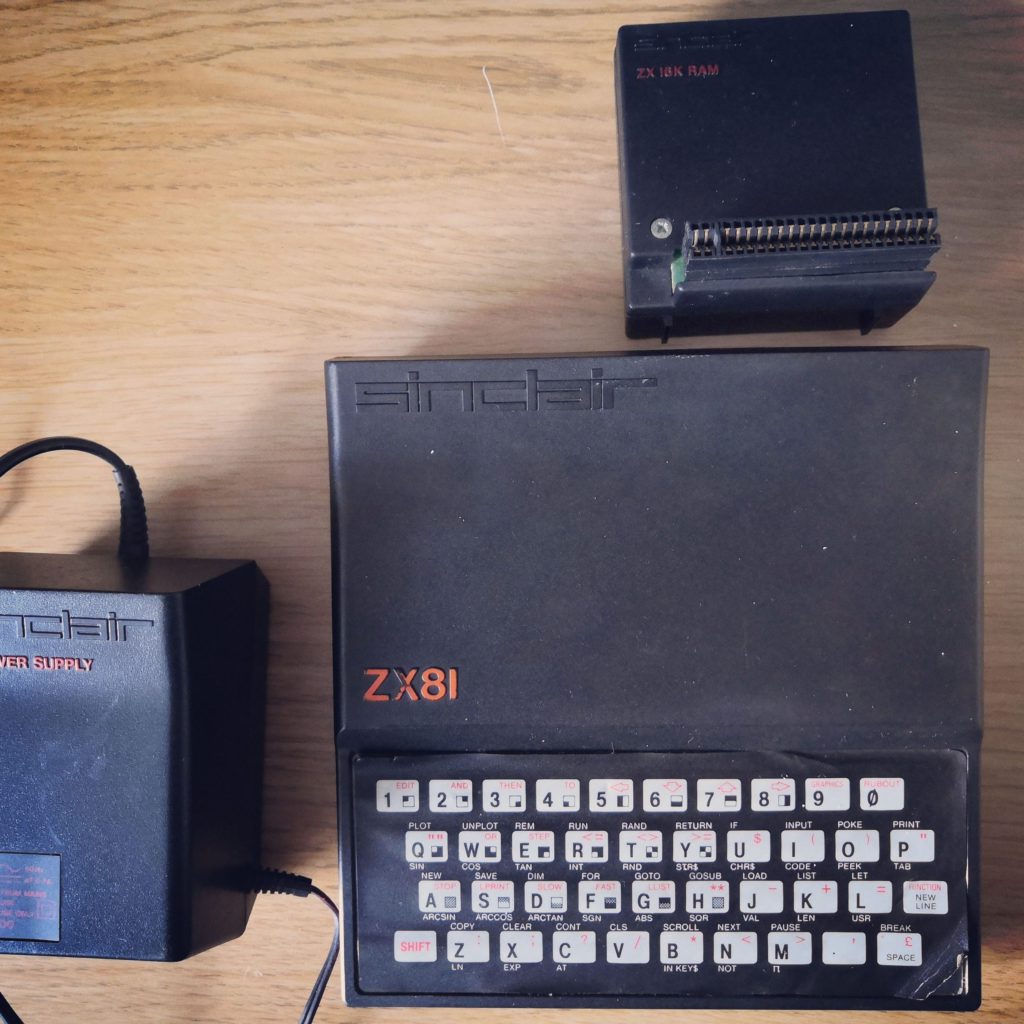
It didn’t take long to win two auctions, the first for a ZX81 console, and the second for a 16k RAM pack; I remember these being legendary for falling out and resetting the console.
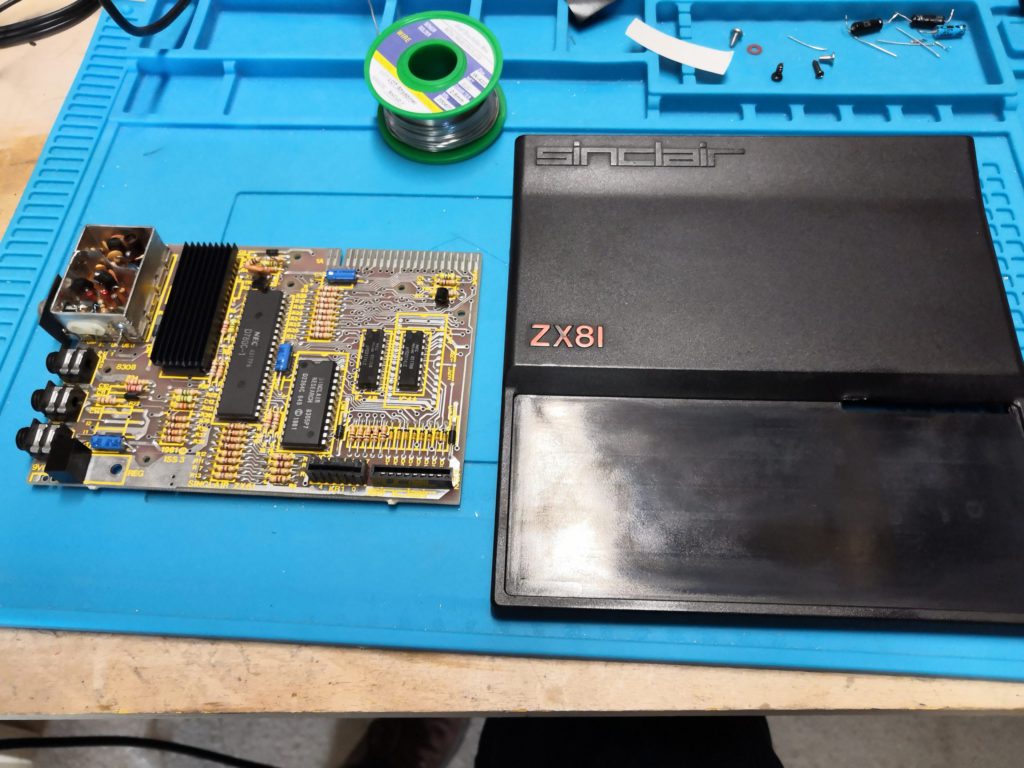
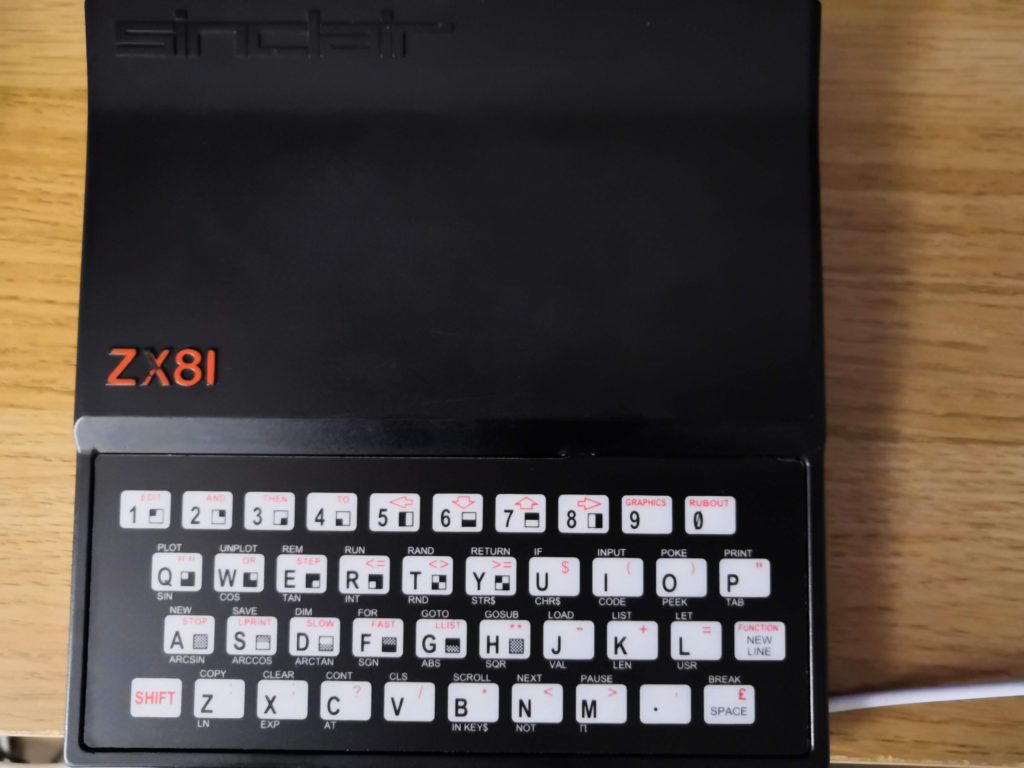
I started by opening it up and doing a visual check, the immediate issue was the keyboard. Something had obviously happened to it with ‘ripples’ all the way around and one corner peeling up. On opening it up I also found that the membrane connection to the motherboard was also snapped. There was no saving this keyboard, luckily new ones are available for £10.
The voltage checks and it all looked good so I decided to try powering it up. I plugged it into my analog tv and turned it on. The boot ‘K‘ was sort of displayed, although the TV was having issues tuning the channel; but the good news was that it was working.
I decided to start the future-proofing while waiting for the new keyboard to be delivered.
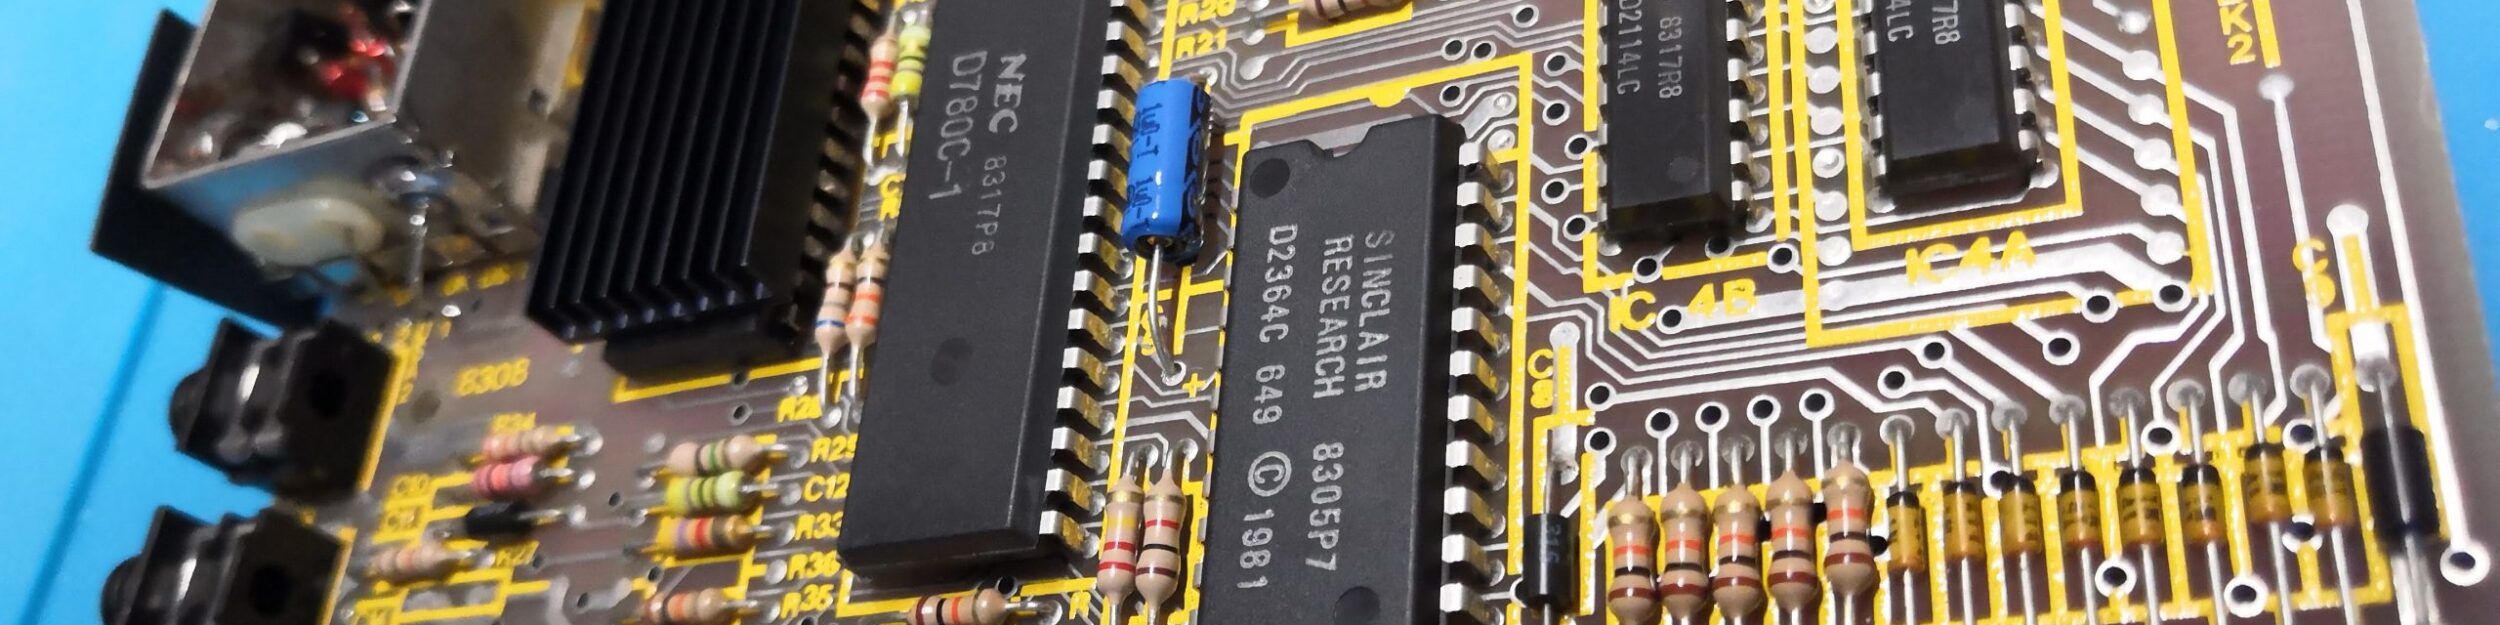
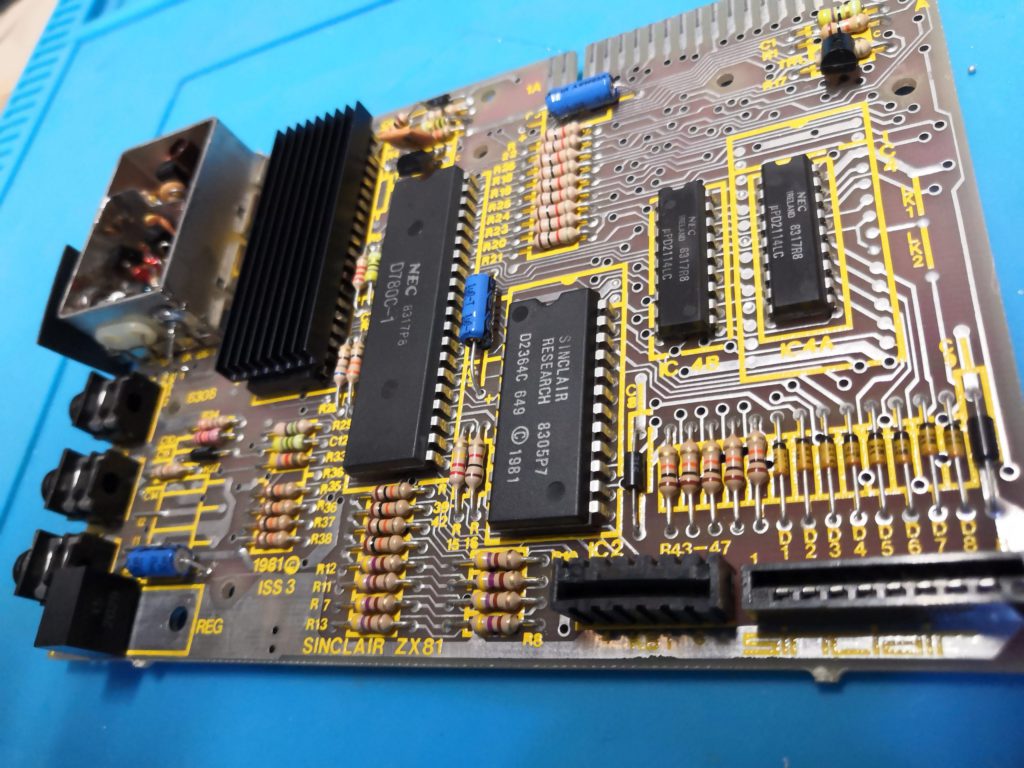
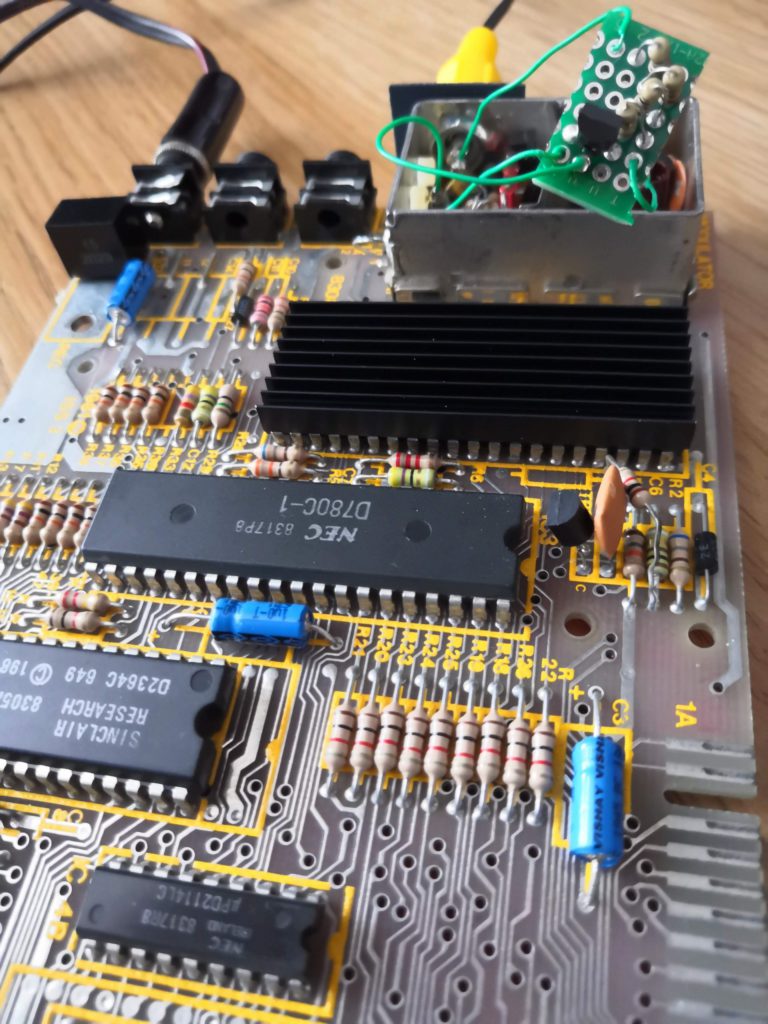
The changes were to replace the 5v regulator with a switched regulator to reduce the output heat, replace all the capacitors, and add a heatsink to the ULA. The keyboard was fairly easy to remove with the help of a heat gun.
The final mod was to upgrade the video to output a composite signal. This is slightly more involved than the Spectrum requiring a transistor and a few resistors. I created a prototype board to check the circuit, unfortunately, I didn’t have any 33 Ohm resistors so used 3*10 Ohm in series for the prototype.
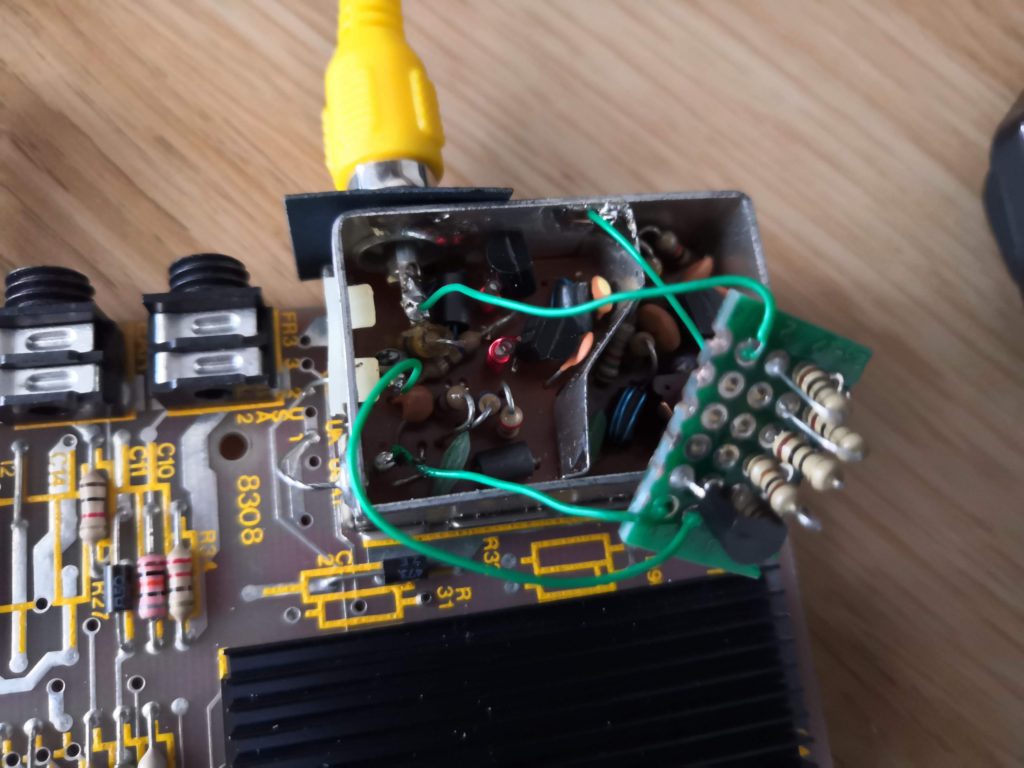
The results were a little bright, this is due to the lower value resistors being used. I decided to order the correct values and do a more professional job when they arrive.
I also replaced the keyboard, another 2-minute job, but it looks great and all the keys passed my first test.
Job complete.